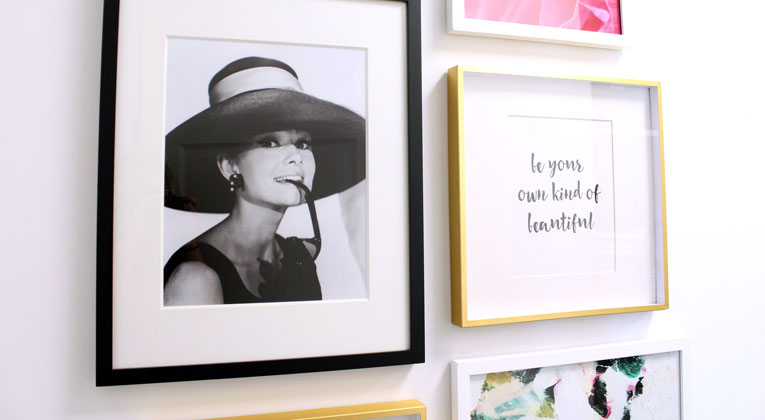
Gallery walls have a way of adding character to a space and telling a story that is sure to be attention-grabbing. They’re fun, trendy and a great way to make the room feel warm and welcoming. We feature gallery and family photo walls at each of our Hughes Marino offices to add personality wherever we can, and are often asked how we add such flair to our spaces. While creating a gallery wall can sometimes seem overwhelming, we are happy to share a few helpful tips to help you get started on your exciting project. You’re sure to have a great experience transforming your blank canvas into an amazing, curated collection that reflects the personality of your office!
1. Choose a Theme
Deciding what story you want to tell is the first step in creating a captivating gallery wall that’s unique to you and your team. First, brainstorm by writing down what inspires you the most. Do you like views of city skylines? Is there a favorite quote (or core value) that you and your team live by? Or maybe you want to display your team’s family photos, like we do at each of our offices. Write down anything you think might fit the look of your space to get the creative juices flowing. Once you have a list on paper, narrow your ideas down to three or four of your favorite concepts.
Another important aspect to take into consideration is the color scheme. Your office may already have a theme or a color palette that you want to reflect. If not, choose a color family that will be your main focus. For our Seattle office gallery walls, we selected art and prints with vibrant bursts of emerald green and pink to match the furniture and art pieces displayed throughout the space, and added in gold touches to complement our fixtures throughout. Identifying a color scheme can really help narrow down your favorite art pieces by using color as a guide!
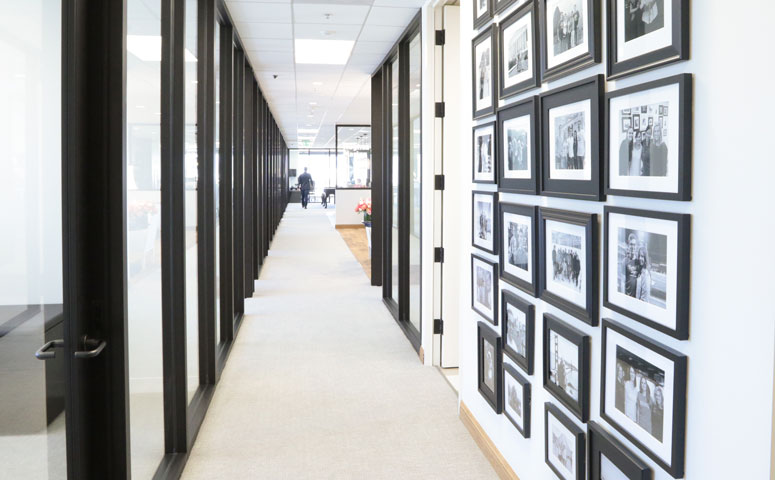
If your office has enough color as it is, another route to consider is a black and white gallery wall. Each of our offices feature family photo walls displaying our favorite family photos in grayscale format. Converting a collection of unrelated and possibly mismatched photos to black and white is a simple way to unify all of the images. Plus, black and white imagery goes well with any décor and adds an element of elegance to your space!
2. Frame Your Ideas
It may sound counter-intuitive, but sourcing the frames before selecting your art can really help the selection of art pieces. Although there are a lot of frames to choose from, there is even more art, which can be overwhelming! By choosing your frame style and color in a variety of sizes found at your local home store, you can visualize what size of art prints to order and avoid having to crop the art or buy custom frames if the art is not a standard size.
You can either purchase frames that are the same color, such as all white or all black, or mix it up by combining a trio of colors, as we did in our Seattle office by combining black, white and gold frames. Another way to tie the frame selection together is to select a style of frame that is available in a variety of sizes and colors. It helps the overall design to have one cohesive element, whether it’s the color or style of the frames, to tie the collection together!
Once you nail down your frame style, decide whether you want your gallery wall to be symmetrical or asymmetrical, but don’t overthink it! If you’d like the placement of art to be symmetrical, choose one to two frame sizes. If you want the art to have more variety in size, choose three to four frame sizes to keep the art placement asymmetrical. Another recommendation? Try not to arrange your pieces too rigidly. Gallery walls have a beautiful way of making spaces inviting and comfortable, so often times, the less perfect the formation, the better!
3. Source the Art
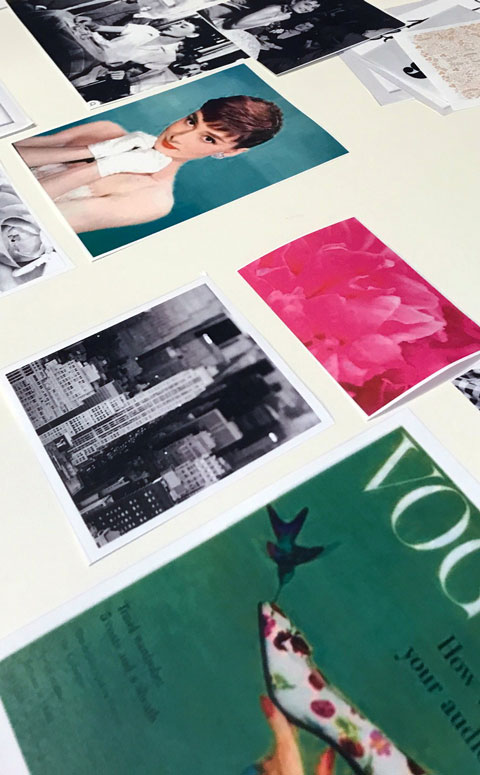
Don’t worry about the exact placement of these prints just yet. Depending on the size of the wall, as well as the size of the art, try to find 7-10 pieces to fill your frames. Once you find the perfect pieces that follow your concept, color scheme and frame sizes, you are well on your way to finalizing your visual story!
If you are arranging a family photo wall, we recommend asking each of your team members to provide both a horizontal (landscape) and vertical (portrait) orientation photo option to give flexibility when arranging your photos. Once everyone submits their options, you can lay out the photos and switch them around until you find the perfect combination of sizes and orientations. Our family photo walls feature a balanced variety of 5”x7” and 8”x10” frames. The more options you allow, the easier it will be to find each photo’s perfect fit!
4. Finalize & Hire a Professional
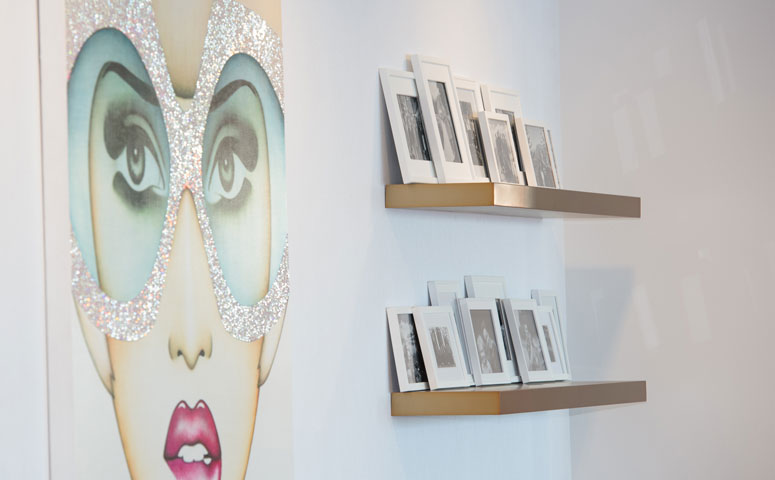
You’re almost finished putting together your story! You’ve sourced your frames and art, and the final step is to display for the world to see! By hiring a professional art hanger to hang your frames, you will save a lot of headaches, and allow you to have a conversation about your ideas while also receiving expert advice. A professional can hang the frames to make sure they are aligned correctly and won’t damage your walls in the process. If you want to take this project on yourself, start by visiting a local frame store for the proper tools and some friendly advice from the framing staff.
Now, it’s time to admire your display. Step back and enjoy the journey of creating your own beautiful gallery wall! We hope these tips help you to tell the story of your space, and would love to see your creations! Tag us on social media (@hughesmarino) or email enjoythejourney@hughesmarino.com with your favorite photos!

